Foam Rolling for Hip Pain: 5 Techniques That Actually Work
If your hips feel stiff in the morning, ache after long hours at a desk, or flare up after exercise, you are not alone. Hip pain is one of the most common complaints among UK adults, and tight, knotted muscles are usually at the root of it. Foam rolling for hip pain is one of the most practical and affordable self-care approaches available, and you can do it at home in under 15 minutes.
This guide explains why hip pain develops, how foam rolling for hip pain works, and five targeted techniques to get real, lasting relief.
Why Hip Pain Is So Common
The hip joint is surrounded by several key muscle groups: the hip flexors, glutes, piriformis, IT band, and tensor fasciae latae. Any one of these can shorten, knot, or become overworked depending on how you move, or how little you move, throughout the day.
Prolonged sitting is the most widespread cause. When you sit for hours, the hip flexors stay contracted and gradually shorten. The glutes, which stabilise the pelvis, switch off. Over time, this imbalance creates tension, reduces range of motion, and produces the deep aching or pulling sensation that many people experience as hip pain. Running, sleeping on one side, and poor standing posture can all make things worse.
According to the NHS, hip pain in adults is extremely common and can interfere with daily tasks including walking, bending, and climbing stairs. The good news is that foam rolling for hip pain, when done consistently, can make a significant difference without any equipment beyond a quality roller.
How Foam Rolling for Hip Pain Works
Foam rolling is a form of self-myofascial release (SMR). Applying sustained pressure to a tight muscle stimulates the fascia, the connective tissue that surrounds every muscle in the body. This pressure encourages muscle fibres to relax, breaks up adhesions, and improves blood flow to the area.
For hip pain specifically, foam rolling works by targeting the muscles surrounding the hip joint rather than the joint itself. The glutes, piriformis, IT band, and hip flexors all respond well to myofascial release. Loosening these muscles reduces the load and compression on the hip, which is what produces the relief people feel after a good rolling session.
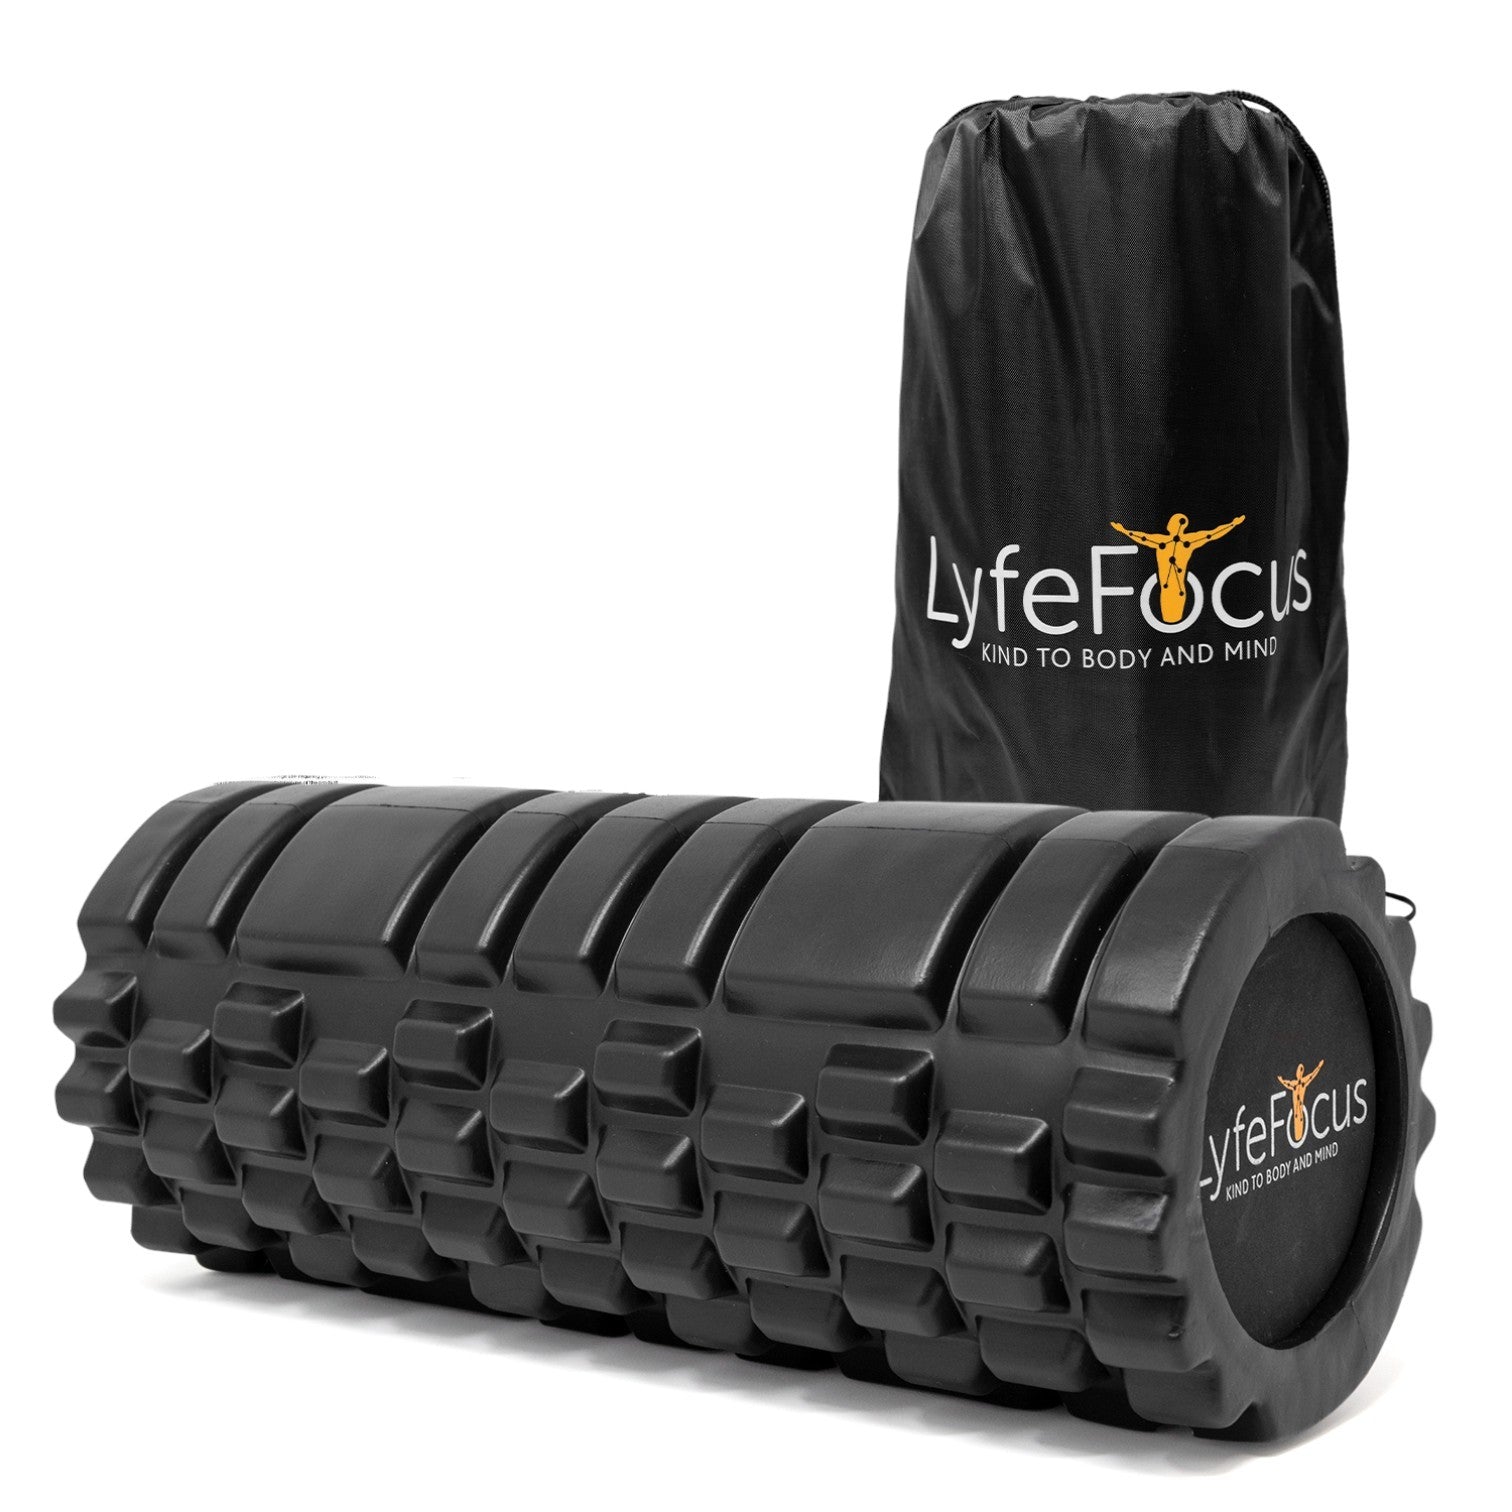
Using a structured trigger point roller, such as the LyfeFocus Foam Roller (Black), gives you better results than a plain smooth roller. The three-zone trigger point design replicates palm, finger, and thumb pressure to target deep muscle tissue more effectively. It is a key part of any foam rolling for hip pain routine.
Foam Rolling for Hip Pain: 5 Techniques to Try Today
1. Glute Roll
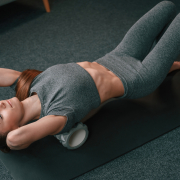
Sit on the foam roller with it positioned under one glute. Cross your ankle over the opposite knee to open up the hip. Using your hands for support, roll slowly back and forth across the glute. When you find a tender spot, pause and hold for 20 to 30 seconds while breathing deeply. Switch sides. Spend 60 to 90 seconds per side. This is one of the most effective foam rolling for hip pain techniques for general glute tightness and deep aching.
2. Piriformis Release
The piriformis is a small but powerful muscle deep in the glute that is a frequent cause of sciatic-like pain radiating from the hip into the leg. Sit on the roller, lean slightly to one side, and shift your weight until you feel pressure in the deep glute tissue. Hold any tender spots for 20 seconds rather than rolling aggressively. Go slowly here.
3. IT Band Roll
Lie on your side with the roller just below the hip at the outer thigh. Use your forearms to support your upper body. Roll slowly from the hip down toward the knee over 60 to 90 seconds per side. The IT band is dense, so go slowly and never roll directly over the knee joint. Outer hip tightness is one of the most common patterns in foam rolling for hip pain.
4. Hip Flexor Roll
Lie face down with the roller under one hip flexor, just below the hip bone on the front of the thigh. Prop yourself up on your forearms. Roll slowly from the hip crease down toward the mid-thigh. If you hit a knot, hold and gently flex and relax the leg to deepen the release. This technique is essential for desk workers carrying constant tension at the front of the hip, and it is central to any foam rolling for hip pain programme targeting the anterior chain.
5. TFL (Tensor Fasciae Latae) Roll
The TFL sits at the outer front of the hip and is often overlooked. Lie on your side with the roller just below and slightly in front of the hip bone. Rotate your body slightly forward so the roller targets that specific area rather than the IT band. Spend 30 to 60 seconds per side. Releasing the TFL can dramatically improve hip mobility and reduce the pulling sensation that many people associate with hip pain.
Common Mistakes That Reduce Results
- Rolling too quickly. Speed reduces the effectiveness of foam rolling for hip pain. Move at 3 to 4 seconds per pass and let the tissue respond.
- Skipping the hold. Rolling back and forth without pausing on knots misses the most beneficial part. Find a tender spot, stop, and hold for at least 20 seconds.
- Rolling directly on a joint. Keep the roller on muscle tissue. Avoid placing it directly on the hip bone or knee joint.
- Only using it when pain peaks. Foam rolling for hip pain works best as a daily habit. A few minutes in the morning or after sitting for long stretches prevents tension from building up.
When to Avoid Foam Rolling for Hip Pain
Foam rolling is not appropriate in every situation. Avoid it if you have an acute injury, bruising, open wound, or suspected fracture. If you have been diagnosed with hip bursitis, osteoporosis, or deep vein thrombosis, speak to your GP or physiotherapist before starting. Always stop if a technique causes sharp or shooting pain rather than the usual dull pressure of a knot being worked out.
Make Foam Rolling for Hip Pain a Daily Habit
The people who see the best results treat foam rolling for hip pain as a routine rather than a one-off fix. Five to ten minutes after waking up, before exercise, or after a long session at a desk is enough to maintain hip mobility and keep pain at bay over the long term. Pair rolling with gentle hip flexor stretches for even better results.
Get in touch with us
If you want to make foam rolling for hip pain a consistent part of your routine, having the right tool makes a real difference. A structured trigger point roller reaches deeper muscle tissue than a smooth roller and delivers results closer to a professional massage. Not sure which option is right for you? Our team is one message away, just visit our LyfeFocus support page and we will help you find the right fit.
Ease muscle pain fast with deep-tissue relief you can take anywhere.![]()
Foam Roller (Black)